SSH Part2 - Configuring SSH Server to be accessible remotely
Understanding how SSH works in depth
SSH Connection Error. WHY?
In the first part of the post, I have presented what I learned about the basics of SSH server. Unfortunately when you are outside of your home network, the SSH connection will fail. SSH access commands that were functioning at home will suddenly return connection refused or connection timeout, despite credentials remaining the same, and the server/port still remaining open. Why is this happening?
1.1 - Port forwarding
To understand what is going on, you need to learn a bit about Computer Networking. Computers pass information over the network in the format of IP packet
Each IP packet contains both a header (20 or 24 bytes long) and data (variable length). The header includes the IP addresses of the source and destination, plus other fields that help to route the packet. Networking protocols split each message into multiple small packets, and ensures that large messages can safely go through physical network connections via protocols like TCP, which would not be discussed in this post. IP packets must have IP headers that contain source and destination IP addresses, so that messages get delivered correctly.
Devices in the same network can freely pass IP packets with each other internally via private IP addresses, because they are like neighbors living in the same building. If you need to talk to your neighbor, you can just walk up to their doors and knock.
Remote traffic, however, aren’t neighbors. They can be seen as a deliveryman coming from outside, who only knows your postal code. Deliveryman will be able to find your building, but he would not know where you are within the building exactly. You can choose to connect via public IP, which is like concierage in the building, but without telling where to deliver the parcel exactly, the parcel will not be delivered.
So you need to set some rules for your concierage. This is called port forwarding.
1.2 - IpV4 based Forwarding: configuring routers/firewalls
If you are on IPv6, there is no need for port-forwarding. This is because IPv6 contains the full address of your device, which does not sit behind NAT. But as I have discussed in the previous post, IPv6 is not a global standard yet, and unless both your home internet connection and remote internet connection fully support IPv6, you will not be able to connect directly via IPv6. Even if your computer is routable, it does not mean it’s reachable, so you may need to work on unblocking firewalls.
First checkout your IPv6 (make sure you can run ifconfig.)
$ ifconfig | grep inet6 | head -n 1 | awk '{print $2}'
Above must return valid IpV6 on both side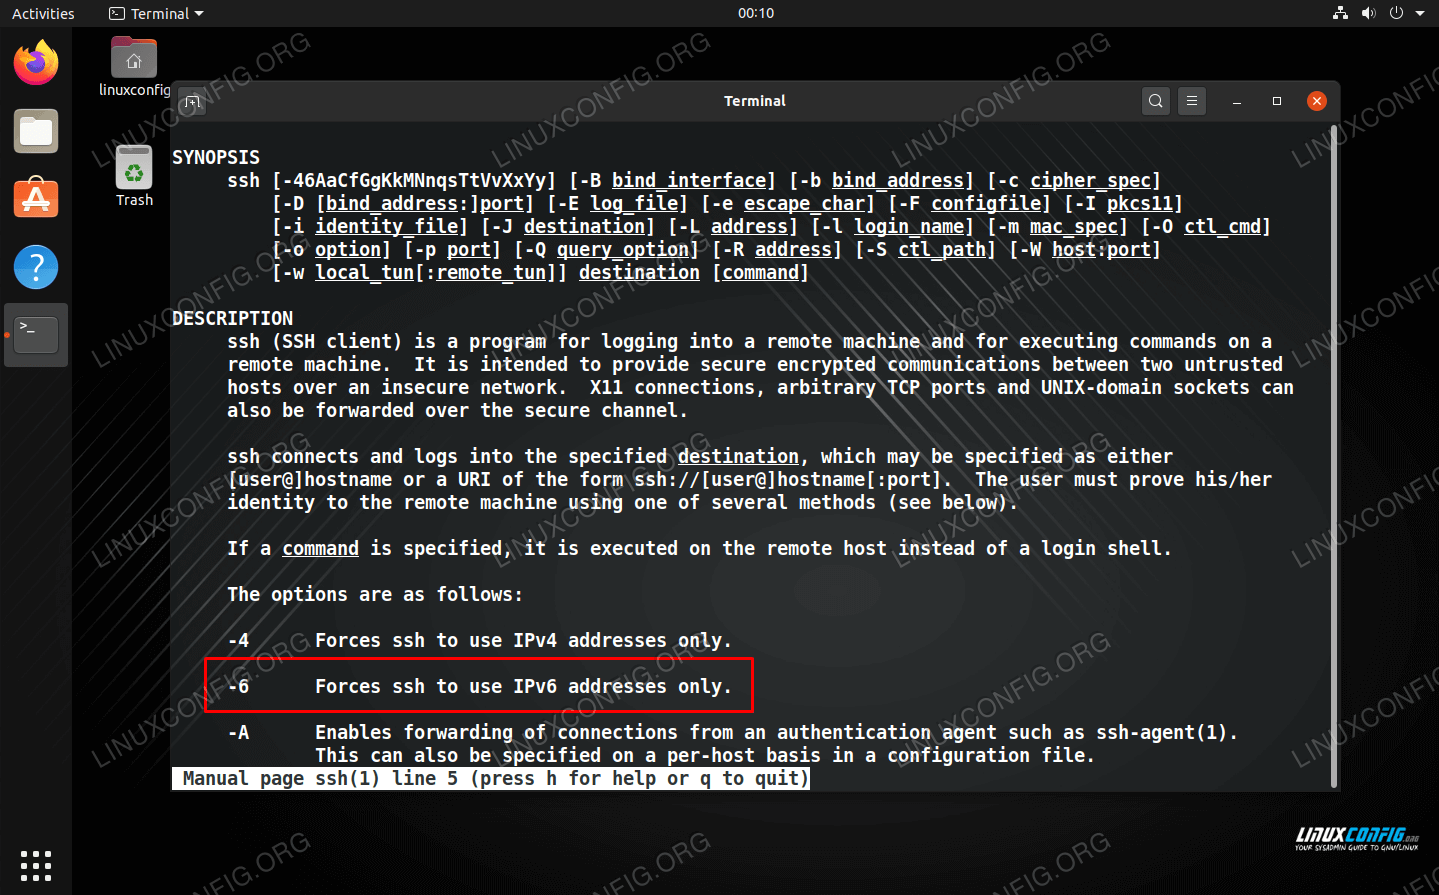
If your network is only using IPv4, you need port-forwarding.
Port forwarding is used to forward a port from the client machine to the server machine. Basically, the SSH client listens for connections on a configured port, and when it receives a connection, it tunnels the connection to an SSH server. The server connects to a configurated destination port, possibly on a different machine than the SSH server. There are several types of forwarding like local port forwarding, remote forwarding and dynamic port forwarding, which will not be discussed here, because I have direct access to configuring the router, and all we want to acheive is simple one-way ssh connection. If you need to read more about different types of forwarding, refer to this article.
In order to do local forwarding, you need to configure router, which is your concierage. It needs to know which devices to redirect the traffic when a request comes into a spefific port designated by the user (mapping an external port to an internal IP address and port).
Every ISP provider will have there own system of opening up ports. But generally the rule of thumb is that you do not open more ports than you need. I am using Telus Network, and I was able to find instructions to configure port forwarding easily from the user manual. The page looked something like this:
All I have to do was to select my server device, and give the ports that it needs to know to correctly redirect the traffic. There are other protocol options like UDP, which does not make sense for private SSH purposes. We want reliable TCP based connections. Once everything is configured, we can execute ssh commands against the public IP address of our server.
$ ssh {id}@{public_ip} -p {port listening}
In order to do the port-forwarding, you may need to open firewalls on some ports, which can be done easily by commands like below:
$ sudo ufw allow 3389/tcp
That’s it! once you understand how it works, everything is very easy.
Ensure that your Public IP does not change
Note: Watch out for your public IPs changing. When router disconnects and reconnects, it re-registers to network and therefore makes changes to the IP address. This would become a problem when your network reboots while you are far away from your computer. You will have no idea what your new IP address is, and you will not be able to SSH into your computer until you come back home and look for the changes. Therefore instead of dynamic address, it is more convenient to have a static ip address. If you have access to the router settings, this can be easily configured. But we aware, if your address is static, your computer may be more vulnerable against external attacks.
Using VPN
There are multiple ways to tackle the SSH problems, and each methods have its own pros and cons. And one of the obvious risks for port-forwarding, is the security aspect. Unlike File Transfer Protocol (FTP), which only enables you to upload, delete, and edit files on your server, SSH can accomplish a wide range of tasks, and therefore has much higher risks.
Under normal circumstances, your network is configured to restrict the ability to access most of these ports from the outside internet. Exposing certain ports to the internet means exposing your network to hacking and all the nasty surprises that come along with it. Port Forwarding does its job, but you can’t deny the fact that it has greater risks.
And there is alternative, which is setting up VPN. It allows your computer outside the network to behave as if it was inside the network. This sets up additional layer of work, but this establihes additional layer of security and now you can connect directly via private ip address without having to expose any ports on your router to internet. You can use tools like openvpn to setup a VPN server, but cons of this approach would be:
- Increased complexity in the entire process.
- Increased latency by introducing extra travel time for requests and responses
Let’s review the differences b/w latency, bandwidth, and throughput.
Start with an easy one. bandwidth vs throughput.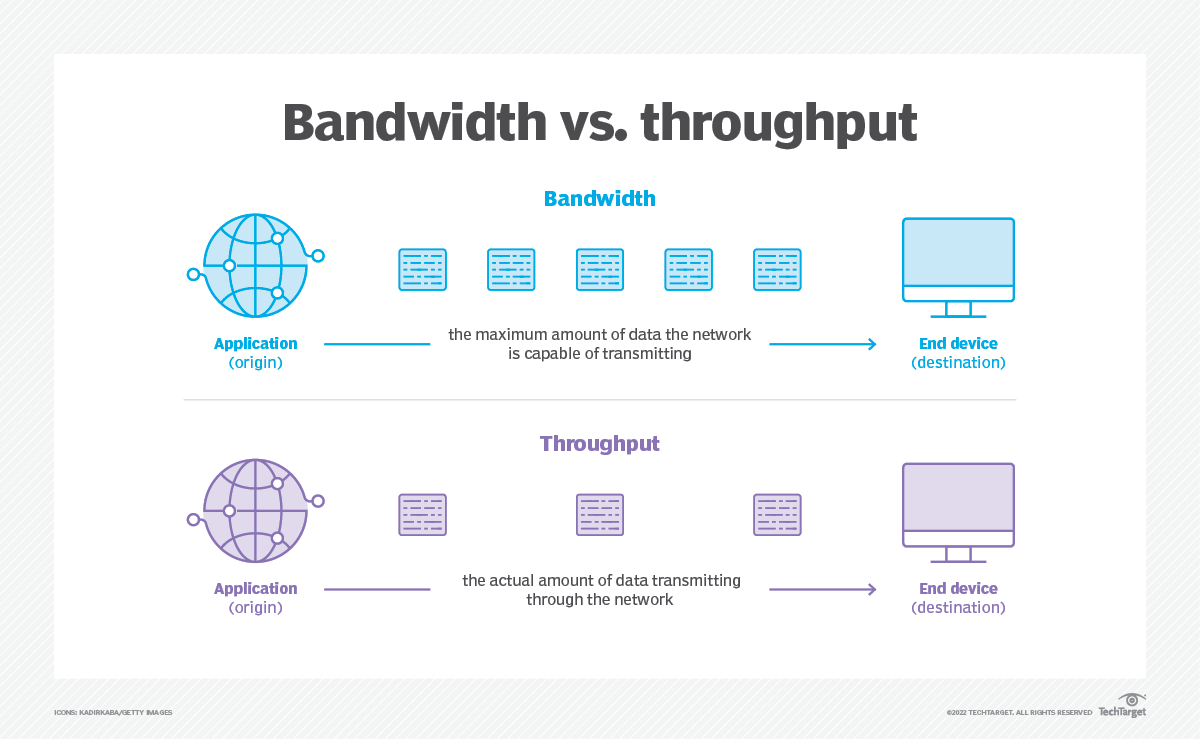
Bandwidth measurement units include bit, kilobit, megabit (Mb) and gigabit (Gb). If a network has a bandwidth of 1 Gbps, this means 1 Gb is the maximum amount of data that could travel between links in one second, in an ideal situation. But network connection isn’t always ideal, and actual performance is usally lower. Throughput shows the data transfer rate and reflects how the network is actually performing. A network could have a bandwidth of 1 Gbps, but, depending on the circumstances, its throughput could be only 500 Mbps, with the network processing half its capacity.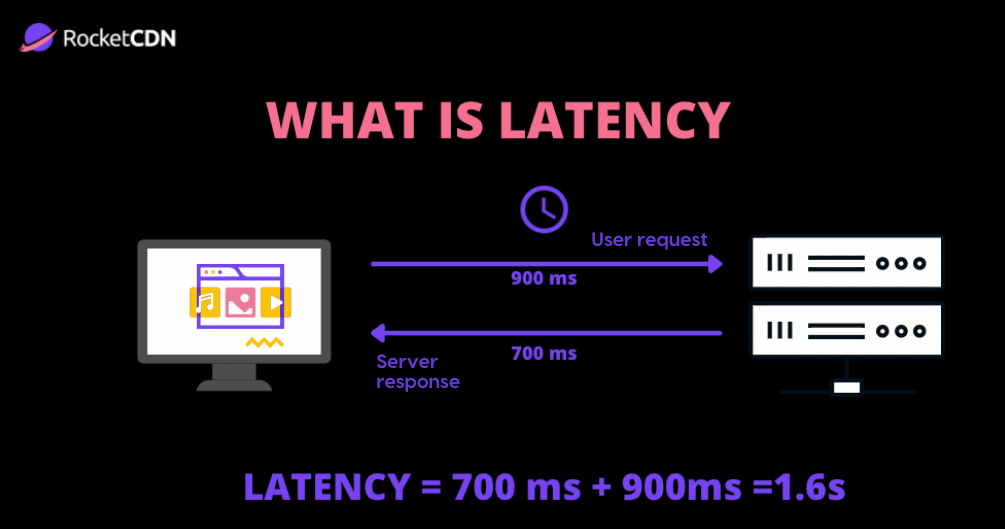
Latency (ping) is a measurement of the amount of time it takes a data packet to travel from one point in the network to another, from sender to receiver. Most often, latency is measured between a user’s device and a data center (server). Latency is caused by distance that signal needs to travel, and various reasons behind network architecture. Obviously this measures how fast first bit reaches the other hand, so it bandwidth doesn’t really affect the latency. But overall performance/experience of application will depend on both.
VPN will be discussed further in detail, on the next post.
Ngrok, Tailscale
Well are there any easier 3rd party solutions?
Options like Ngork and Tailscale are 3rd party applications that does this for you. Ngrok, for example, exposes local servers behind Network Address Translation (NAT) and firewalls to the public over secure tunnels. Ngrok Secure Tunnels allow you to instantly open access to remote systems without touching any of your network settings or opening any ports on your router. This means you get a secure, reliable tunnel for your developer box, IoT device, or just about anything that has access to the internet.
Ngrok does not require VPN or port-forwarding. Ngrok Secure Tunnels work by using a locally installed ngrok agent to establish a connection to the ngrok service. Once the connection is established, you get a public endpoint that you or others can use to access your local service.
Configuring Ngrok
Now let’s dive into Ngrok. I’m on Debian, so I will download mine according to terminal instructions:
# If you have not done it yet, download openssh-server and start
$ sudo apt install openssh-server
$ sudo service ssh start

#donwload the Ngrok files and extract
$ curl -s https://ngrok-agent.s3.amazonaws.com/ngrok.asc | sudo tee /etc/apt/trusted.gpg.d/ngrok.asc >/dev/null && echo "deb https://ngrok-agent.s3.amazonaws.com buster main" | sudo tee /etc/apt/sources.list.d/ngrok.list && sudo apt update && sudo apt install ngrok

# add auth token
$ ngrok config add-authtoken $AUTH_TOKEN

# run ngrok server
$ ngrok tcp 22
Here you have multiple protocol options to use HTTP, TLS, TCP, and SSH Reverse tunnel.
- HTTP protocols are typically used for websites, RESTful APIs, web servers, websockets, and much more.
- TLS (Transport Layer Security) tunnels are more secure version of HTTP tunnels, using encryption approach. Essentially this is HTTPS.
- HTTP is a One-way communication system, while on the other hand, TCP is a 3-Way Handshake. TCP. This is commonly used to expose SSH, game servers, databases and more
- SSH reverse tunneling is an alternative mechanism to start an ngrok tunnel without needing to download or run the ngrok agent. You can start tunnels via SSH without downloading an ngrok agent by running an SSH reverse tunnel command.
For my simple use case (we aren’t building an application here), there is no reason to go for options besides TCP. The server is up and running. You will see stuff like:
Forwarding: tcp://18.tcp.ngrok.io:999999 -> localhost:22
You can choose to add public key to the client, or you can choose to install same Ngrok client and authenticate just like how you authenticated the server.
$ ssh chophilip21@18.tcp.ngrok.io -p999999
It’s simple as that, but remember, you are delegating authentication and all other processes over to 3rd party here, and you don’t have much control once you set this up. There can be serious problems associated with this as well (nothing is risk free).